How to build a Centos 6 base Box for vagrant
Update : Creating new Vagrant base boxes with Veewee
I originally went down a manual route as I wanted to understand the process, and since I’m familiar with manual installs this was the easiest path for me at the time.
You’re probably better off using veewee or packer
I’ve been playing with vagrant a bit lately but of course the first thing I wanted was something they say is for advanced users only, creating my own base box.
I’m not sure why this is given such a stark warning, it is perhaps a little long, but it wasn’t too difficult, and given that I want to match a client install as closely as possible I want centos 6.2 (client has RHEL6.2)
There is a list of pre-built boxes but I personally don’t know how trustworthy those urls are.
So here is what I did (as well as I can reconstruct from notes) with a few comments.
I’ve tried to keep this quite detailed so that it should achievable even if you don’t regularly install new OS’s
On your local dev machine
I’m running Ubuntu 12.04.1 LTS locally
I have installed
i A virtualbox                                                                                                                      - x86 virtualization solution - base binaries
i A virtualbox-dkms                                                                                                                 - x86 virtualization solution - kernel module sources for dkms
i A virtualbox-fuse                                                                                                                 - x86 virtualization solution - virtual filesystem
i   virtualbox-guest-additions-iso                                                                                                  - guest additions iso image for VirtualBox
i   virtualbox-ose-dkms                                                                                                             - transitional package for virtualbox-dkms
i   virtualbox-ose-fuse                                                                                                             - transitional package for virtualbox-fuse
i   virtualbox-ose-qt                                                                                                               - transitional package for virtualbox-qt
i A virtualbox-qt                                                                                                                   - x86 virtualization solution - Qt based user interface


i   vagrant                                                                                                                         - Tool for building and distributing virtualized development environments
wget http://mirrors.ukfast.co.uk/sites/ftp.centos.org/6.3/isos/i386/CentOS-6.3-i386-minimal.iso
In Virtualbox GUI
Create a new VM
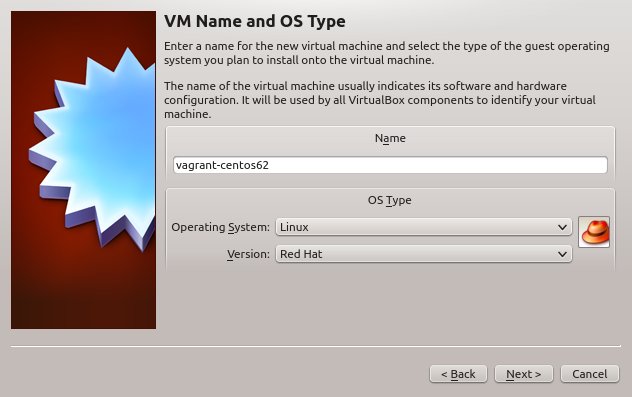
Set OS to Linux and version to Red Hat
Call it “vagrant-centos62” (ie vagrant-${osname}
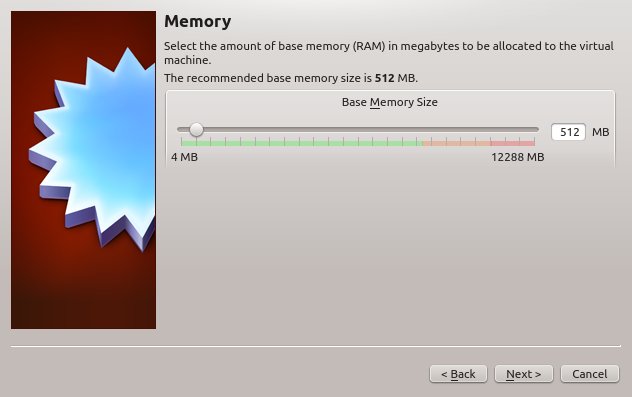
Set memory to 512Mb (this is just a default and can be altered later)
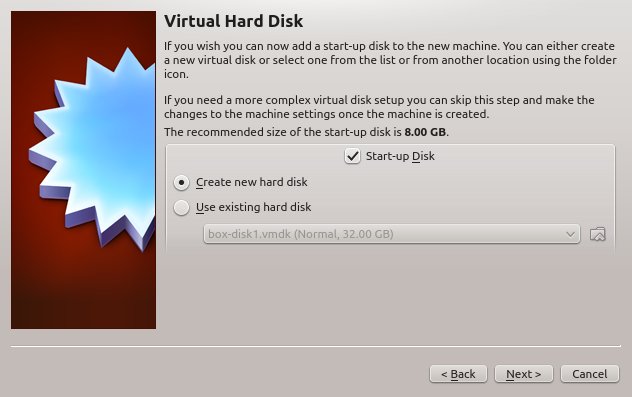
Create a new virtual hard disk
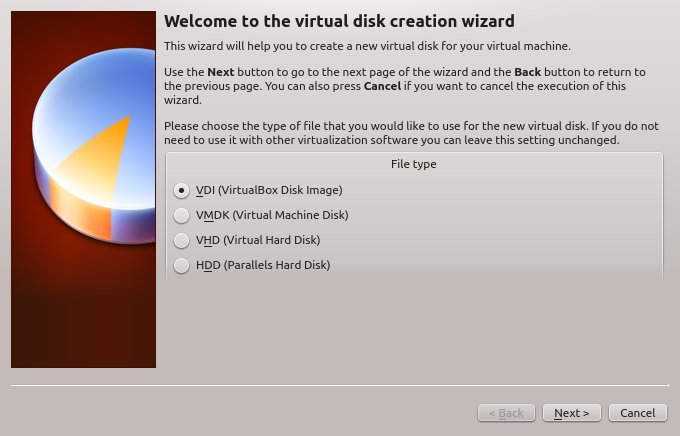
Use the default virtualbox format
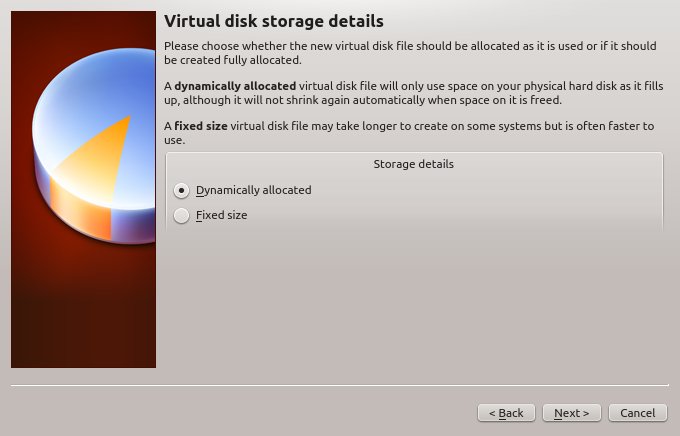
Choose dynamically sized (This means the VM will see a large disk - but the space won’t be used on your real hard disk - unless the virtual one has actual data on it)
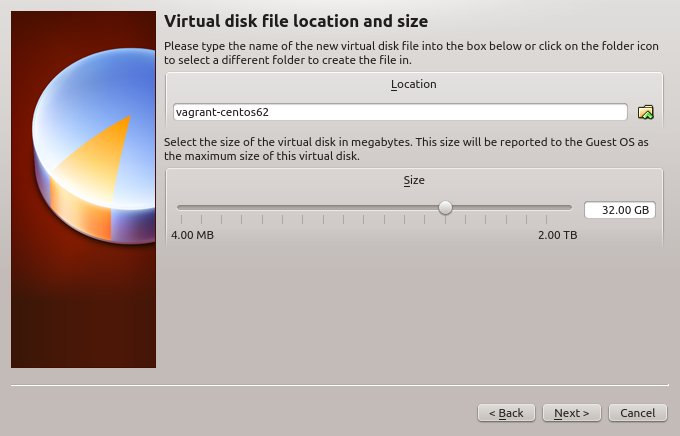
Make it 32Gb in size (which should be big enough for most tasks)
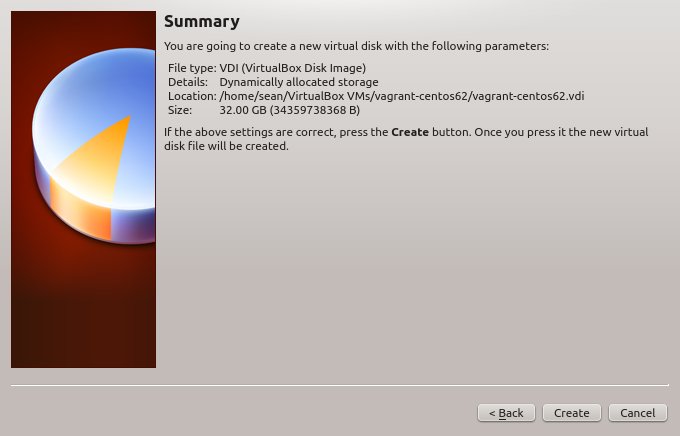
Click create
Virtualbox settings for this new VM
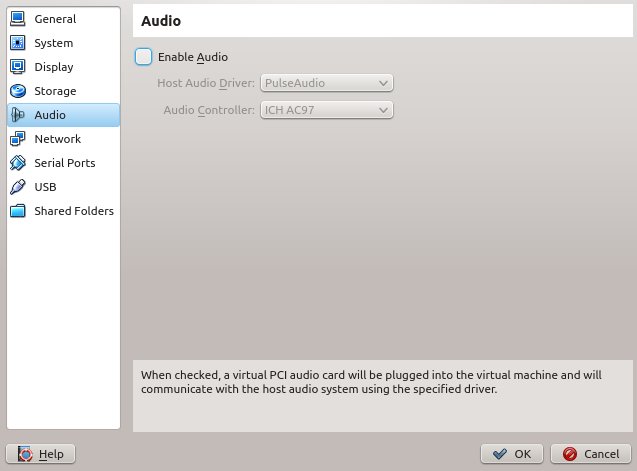
Disable audio support (not normally needed for a development VM)
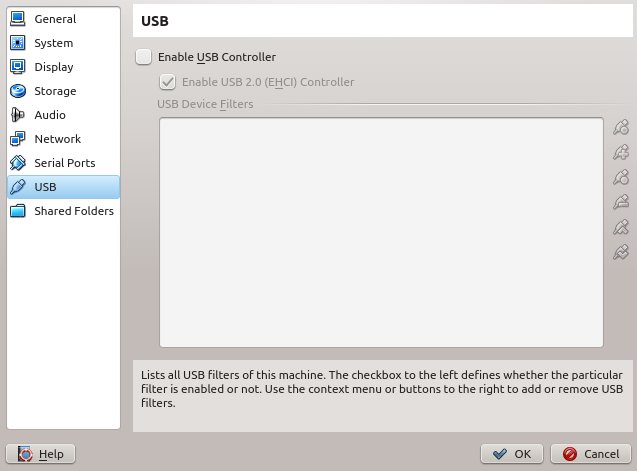
Same for USB
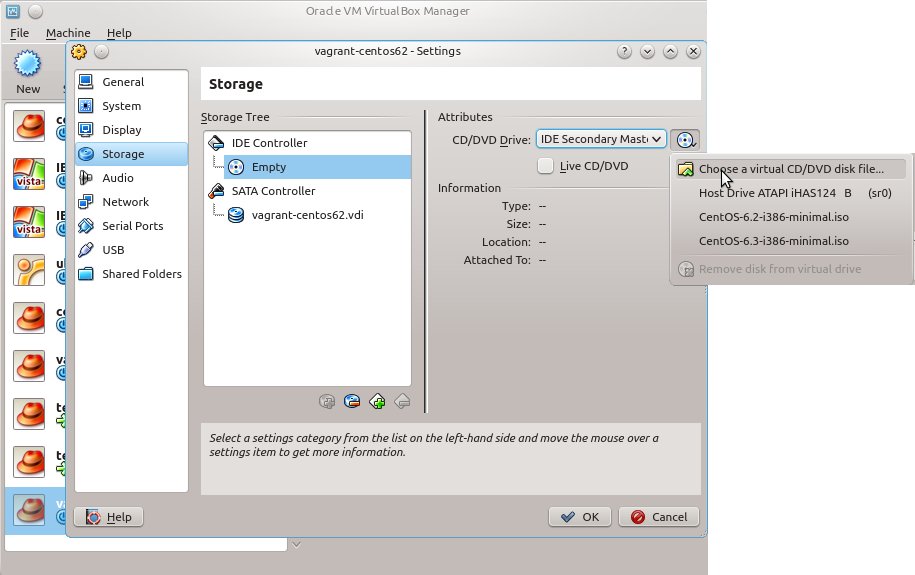
In Storage settings choose a virtual CD - and broswe to the iso you downloaded earlier.
Start the new VM
In the Install process
NB I don’t show every single step here, as I got bored with all the confirmation screens. Hopefully the ones I mised are obvious enough.
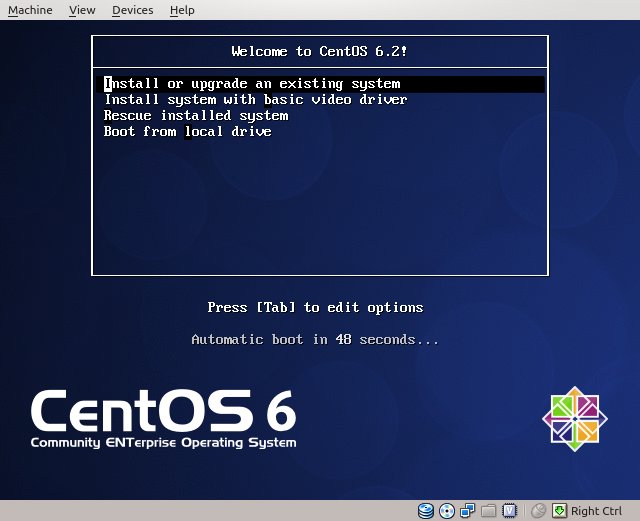
Select to install a new OS
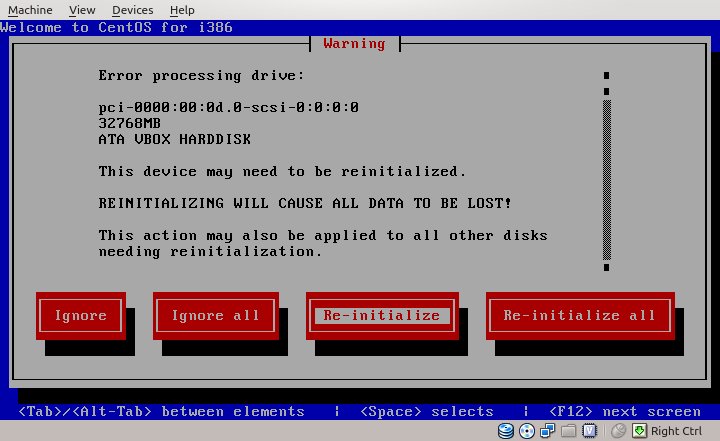
Re-initialize the hard drive (this is just the one on the VM that has never been used)
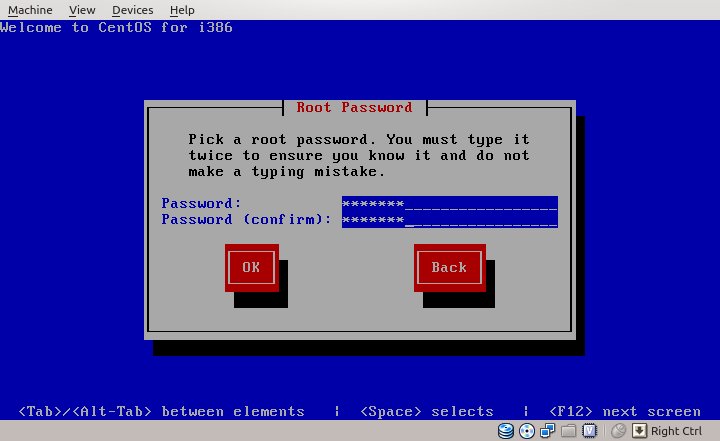
Set the root password to “vagrant” (and remember it for later)
![step 16]/sites/default/files/step-16.jpeg)
Accept defaults for partitioning the disk, “replace linux system”
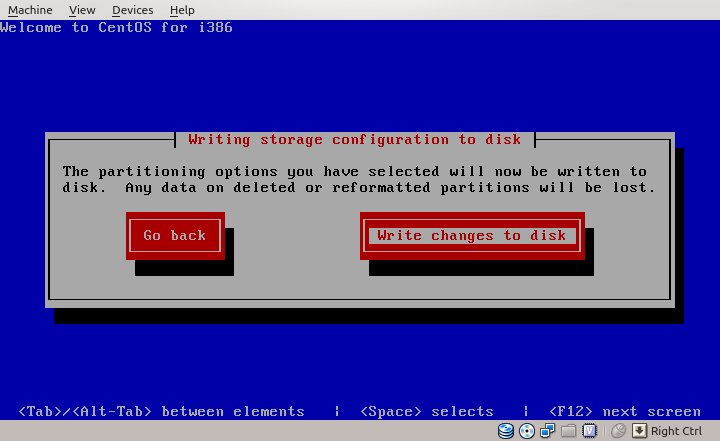
Write changes to disk
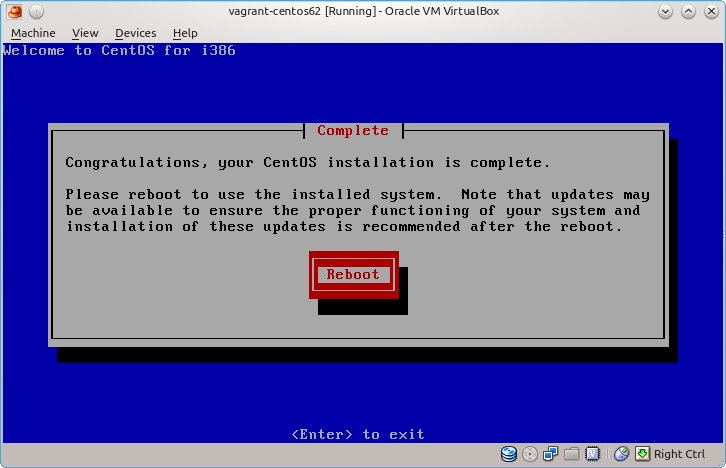
Reboot the VM
In the VM
So now thew new VM is up and running, we just need to prepare it for vagrant
Oddly centOS/RHEL network interfaces are not enabled by default, we need to change this.
vi /etc/sysconfig/network-scripts/ifcfg-eth0
set ONBOOT=“yes’ and BOOTPROTO=dhcp
Start the network
ifup eth0
Install some packages we need to get Virtualbox additions to work (do this before rebooting). ALso it is important to update - to ensure the kernel in use matches the kernel-devel package
yum update
yum install gcc make kernel-devel kernel-headers perl
Now shut down the VM a moment, and in your local system run
VBoxManage modifyvm "vagrant-centos62" --natpf1 "guestssh,tcp,,2222,,22"
This will open an ssh port on localhost to the new VM (NB this can also be done via the GUI in advanced options on the network config).
Now start the VM again, and once booted, in the VM window menu, click “Devices” and “Install guest additions”
back in your local system again run
ssh -p2222 root@localhost
Great so now we have root on the new machine, in your normal terminal and it should be possible to copy-paste the following commands
mount /dev/cdrom /mnt/
sh /mnt/VBoxLinuxAdditions.run
errors related to KERN_DIR mean you don’t have a matching running kernel and kerne-devel versions - check the update, install reboot steps above
Errors building openGL and windows drivers are expected (there is no windows system) these error messages don’t mean the process failed.
Test that the additions are installed, the following command should run and print out some system facts
VBoxControl guestproperty enumerate
Create vagrant user, group vagrant, password vagrant.
groupadd admin
useradd -G admin -p $(openssl passwd -1 vagrant) vagrant
Install and configure sudo for vagrant user to have passwordless sudo powers
yum -y install sudo

echo '
Defaults    env_keep += SSH_AUTH_SOCK
%admin ALL=NOPASSWD: ALL
Defaults:vagrant !requiretty
' > /etc/sudoers.d/vagrant

chmod 0440 /etc/sudoers.d/vagrant

# the above for copy-paste convenience NEVER do this on a remote machine - use visudo instead
ssh with sudo commands should work, only asking a password for login (not again for sudo) from you local system try
ssh -p2222 vagrant@localhost "sudo ls /"
Add vagrant’s public key so vagrant user can ssh without password.
sudo -u vagrant mkdir /home/vagrant/.ssh
sudo -u vagrant curl -k https://raw.github.com/mitchellh/vagrant/master/keys/vagrant.pub > /home/vagrant/.ssh/authorized_keys
chmod 0755 /home/vagrant/.ssh
chmod 0644 /home/vagrant/.ssh/authorized_keys
These keys are reccomended for publically distributable base boxes, the keys are included in the vargant programs and so login ‘just works’ for anyone using vagrant. However this is not secure and these keys should only be allowed if your vagrant systems will be secured by a private network. If the boxes will be public use secure keys and and then specify the private key you created by setting config.ssh.private_key_path.
Install the Puppet Repository
According to the [official documentation}(http://vagrantup.com/v1/docs/base_boxes.html)
Chef and Puppet for provisioning support … are absolutely required of a base box in order to work properly with Vagrant.
However this appears to me to be talking about a requirment for base boxes to be publically distributed, if you are building a base box for your own team I can’t see why you would need either puppet or chef unless you will actually use them, but I may be wrong on this. The following instrcutions detail how to install both (on centos)
echo '[puppetlabs]
name=Puppet Labs Packages
baseurl=http://yum.puppetlabs.com/el/$releasever/products/$basearch/
enabled=1
gpgcheck=1
gpgkey=http://yum.puppetlabs.com/RPM-GPG-KEY-puppetlabs
' >  /etc/yum.repos.d/puppet.repo


# Install the EPEL x86_64 YUM Repository

rpm -Uvh http://download.fedoraproject.org/pub/epel/6/x86_64/epel-release-6-7.noarch.rpm


# Install the Puppet Master packages (I'm not 100% sure if this is striclty required if you don't use the puppet master provisioner)

yum -y install puppet-server

#Install the Puppet Client packages

yum -y install puppet
If you want to use chef
rpm -Uvh http://rbel.frameos.org/rbel6

# Install Ruby and other development tools:
yum install ruby ruby-devel ruby-ri ruby-rdoc ruby-shadow gcc gcc-c++ automake autoconf make curl dmidecode

# On RHEL 6 you will need to add the "RHEL Server Optional" channel subscription for this command to succeed without missing dependencies.

#We prefer to install RubyGems from source rather than use the OS-provided version (if any), as it is cross platform, so we know what to expect.
Install RubyGems
cd /tmp
curl -O http://production.cf.rubygems.org/rubygems/rubygems-1.8.10.tgz
tar zxf rubygems-1.8.10.tgz
cd rubygems-1.8.10
ruby setup.rb --no-format-executable

# Install Chef Gem

gem install chef --no-ri --no-rdoc
Clean up (freeing up space to make the final box smaller)
yum remove gcc make kernel-devel kernel-headers perl
yum clean all
# TODO add more cleanup steps eg ruby tarballs, kernel-devel probably isn't needed after vbox additions is built etc
Finally shut down the VM, package the box and add it to your vagrant boxes. On your local dev machine
vagrant package --output centos62.box --base vagrant-centos62
vagrant box add centos62 centos62.box
vagrant box list # this should show the new box
Now you can quickly create a Vagrant VM
mkdir vagrant_test
cd vagrant_test
vagrant init centos62
vagrant up
# wait while it boots
vagrant ssh